Where Can I Get A Lamp Rewired, And What Will Be The Cost Of It?
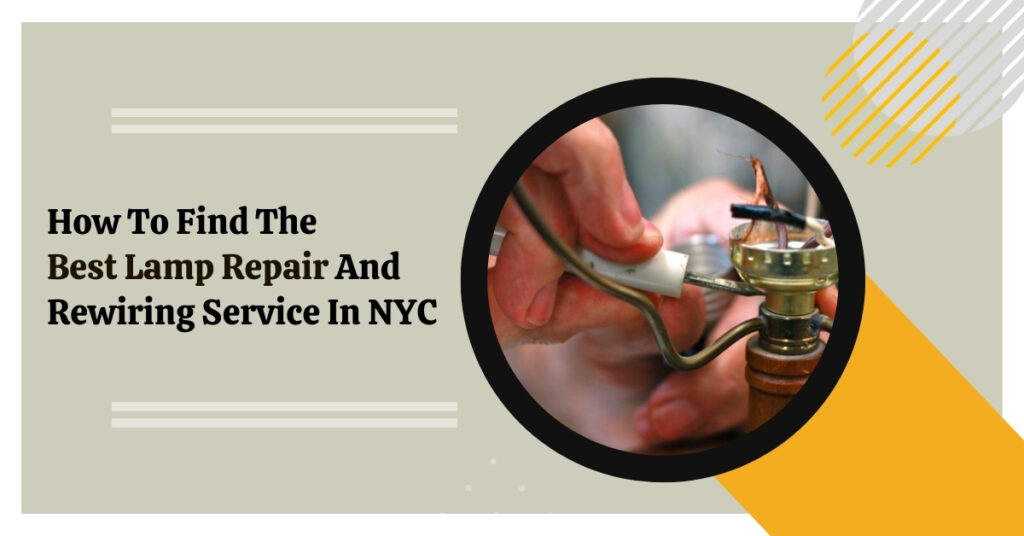
Table or Floor lamps can last long for years in great working order. But ultimately, they need to be rewired sometime. It may be necessary to rewire the lamp due to abuse from pets and little kids or excessive use over time. Rewiring a lamp is a basic project that can renew your lamp and give it a new look again. But the only question is, where can I get a lamp rewired, and what will be the cost of it? Lamp Rewiring is a simple procedure of changing the old and damaged lamp wire to the new one. This can be done while repairing a damaged lamp or upgrading an old lamp. Why Should I Get My Lamp Rewired? Make your lamp more energy-saving. Improve the light quality that your lamp releases. Make your lamp secure to use. Elongate the life of your lamp. Make your lamp more aesthetically nice. How To Rewire A Lamp? Here is the step-by-step guide to lamp rewiring. Disconnect The Power The first step is disconnecting the power plug from the socket. Never start any work while connecting the lamp. Remove The Bulb Detach the cover, unscrew the bulb, and press the switch’s socket shell to divide the shell and cardboard insulator from the socket cap. Don’t use the screwdriver to pry the socket aside if you are thinking of reusing the socket. Take out the socket from the shell as long as the connected cables permit. If this is not giving you sufficient cables to work with, knock the cord up from the lamp’s bottom for more slack. Remove The Socket, Slacken the terminal screws of the socket, and eliminate the cord wires from below them. If it is a small-sized lamp, the cord travels in a straight track, glides the old cable out, and sustains the new cable from either end to the other. If the old cord provides any resistance at all, don’t pull on it. Check if you can deconstruct the lamp for easy removal. Also, ensure that the cord is attached in a twist to sustain it from being drawn out at its foot. Cut The Power Cord Cut about 12 inches of wire from the base of the lamp to remove the tight cord. Then, cut the two conductors of the wires separately and shred around an inch of insulation away from the ends. Similarly, do this to the end of a new cord’s length. Twist old, and new bare conductor ends together and turns twists set across the cord. Enclose electrical tape nearly around the splice. Draw the old wire from the fixture’s top, and work the newest wire through; at a similar time, push on the new wire from the base. Hook off the old cord when you have enough new wire by the top. Read More:- Guide On Lamp Restoration Service Remove The Insulation Once you move the new wire by the lamp, cut the end, so you have around 3 inches of parted conductors. Use a cord stripper tool to cut the insulation of around 3/4 inch from the conductor’s every end, then spin the strings of each together. And also, be cautious not to cut strings when you strip insulation. Fix Wires To The Terminal Now curve the turned end of every wire into a clockwise coil, and set each coil below the socket’s terminal screw with the loop twined clockwise near the screw, then tighten the terminal screws. A clockwise coil will place the cords tighter below the screw head as each screw is tightened. Hook off the surplus uncovered cords with diagonal cutters. Every uninsulated wire must be under screw heads, with no loose strands or exposed bare wire. If bare wire is visible below bolt heads, unscrew terminals, detach wires, and make a link again. Fix The Insulator Glide the socket covering above the insulator, and slide the insulator and shell above the socket. Then split the socket and shell into the cap. Fix The Plug Place a quick-fixing plug on another end of the wire. Twig the wire’s end into the hole on the plug’s side and press down on the top lever. Metal points inside the plug will be held by the wire’s insulation, shredding copper cords to make an electrical relation. If you utilize a screw-type plug, arrange cord ends like you did when building socket screw connections, and then twist them together. Coil each cord around the plug’s point before tightening the uncovered end below the screw head. Loops and knots keep cords from involuntarily touching each other. Also, pulling on the cord makes it harder to slacken connections. Reassemble The Lamp Tighten cords under the screw top, and hook off any surplus uninsulated conductor prior to the plug-in lamp. Why Hire A Professional For Your Lamp Rewiring? Here are the reasons to know the importance of hiring a repair professional for your lamp to rewire needs. Responsibility Of Loss Sometimes, just to save your bucks, you do the lamp rewiring on your own, but it results drastically worse because of a lack of knowledge, and it takes much more money than you expected to repair it. But in the presence of a trained lamp professional, you don’t have to worry about such loss. And if there is any loss, you will not be responsible for compensating for it. The lamp professionals will be answerable in such situations. Safety Measures The Lamp experts take all caution while rewiring the lamp. They are verified, and that’s why they complete their job in a very disciplined and safe manner. No matter if the purpose of hiring them is minor or major, they will complete it with all care. Surety Bond The major benefit of hiring lamp professionals for lamp rewiring is that they will assure your money security. It means that in case of bad service or if the problems come from their end, you will not pay any charges for such services. But it is also true
Where Can I Get A Lamp Rewired, And What Will Be The Cost Of It? Read More »


