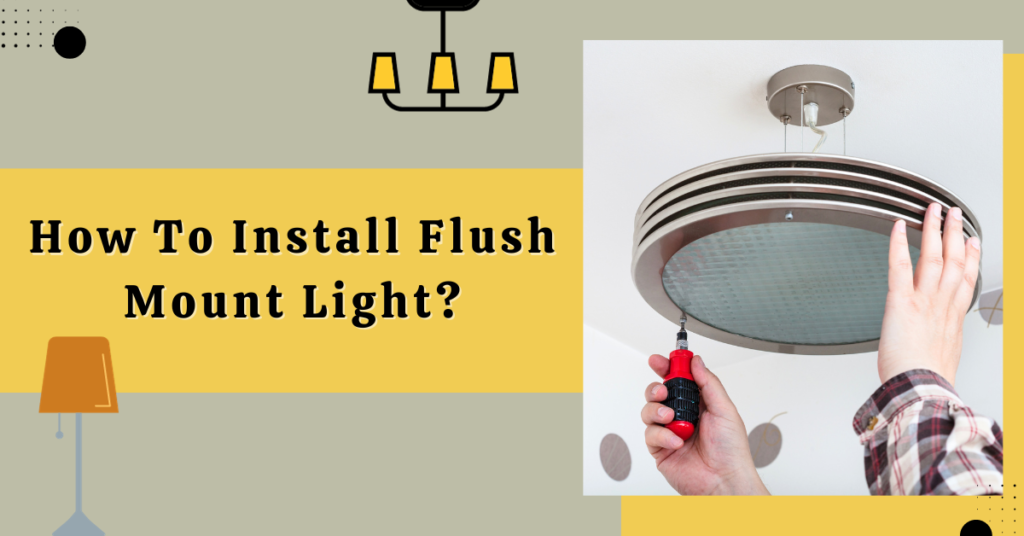
How To Install Flush Mount Light?
In today’s time, lighting plays an important role in enhancing the overall aesthetics of your space. Among all the options available, flush mount light is significantly popular for its functionality, stylish appeal, and versatility. Moreover, you can find flush mount lights in a wide range of options that will suit your interior design and will be according to your taste. Additionally, you can do the installation process with some easy steps, whether you want to replace an existing fixture or add a new one. But, before you jump onto buying one, you should first know “how to install flush mount light?” In this blog, we have briefly explained all the essential steps that you should know at the time of installing the flush mount light. In addition, we have also discussed some of the important things you have to consider during the installation process. Important Things You Have To Consider Safety should be the priority whenever you do something that involves electricity. Keep these few things in mind. Make sure to turn the power off and collect all the essential materials needed when installing the flush mount light. Following all the steps will provide you with a stylish and successful lighting update for your space. It is essential to follow each step to remove the old fixture light and add a new one. You have enough time, so be sure about safety and everything. Steps You Have To Follow Follow all the steps carefully, as each one is essential for successfully installing a flush mount light. Step 1: Collect All the Materials And Tools Before you start the installation process, collecting all the essential materials and tools is important. It will ensure that the installation process will be smoother and more efficient. Below is the list of materials and tools you will require: Flush mount light fixture Electrical tape Voltage tester Ladder or step stool Mounting bracket Wire connectors Wire cutter/stripper Screwdriver Optional: stud finder Before you start the procedure, ensure you are ready with all the materials and tools. Doing this will save you time and help you prevent any interruptions during the process. Once you have collected all the essential materials and tools, it is time to move forward to the next step. Step 2: Turn Off The Power You must turn off the power before you work with any electrical fixtures. By following this step, you ensure your safety, and it helps prevent any potential risk. The steps you have to follow to turn off the power: Place your circuit breaker box or electrical panel. Generally, you can find all this in the garage, basement, or utility room. Look for a circuit breaker that can control the power supply where you will install the flush mount light. If you do not know which breaker you must use, you can shut off the main circuit breaker and turn off power to the whole house. Switch on the circuit breaker you have identified to “off.” You can check if the circuit breaker is turned off by testing the voltage on the wires on the light fixture you will be working on. Once you are sure the power is off, cover the circuit breaker with electrical tape to ensure that no one accidentally turns it back. Note: Remember, you have to be more careful and be safe. Before you jump to the next step, you must check whether the power is off or not. You can remove the old light fixture when the power is turned off. Step 3: Take Out The Old Light Fixture Now that you have turned off the power, it is time to remove the old light fixture. The steps you have to follow. First, you must remove all light bulbs from the fixture. Keep it in a safe place. Place the nuts and mounting screws that keep the fixture in place on the wall or ceiling. If you want to loosen and remove them, you can use a screwdriver. Slowly remove the old light fixture and detach the wirings from the electrical box. Look carefully at how all the wires are connected, and write down the wire color labels or combinations. Be careful while removing the old fixture once you have detached the wires. You have to remove it from the electrical box. Keep it aside. Check the electrical box or mounting bracket for any loose or damaged connections before installing the new flush mount light. Repair or replace it if it is essential. Now that you have removed the old light fixture, it is time to install the mounting bracket. This is what you have to do for the new flush mount light. Doing this step will give you a secure base for the new fixture. Also Read: Lamp Shade Holder Types: All You Want to Know Step 4: Time To Install The Mounting Bracket The mounting bracket provides a stable and secure base. To install the mounting bracket for the new flush mount light fixture, you have to follow these steps: Take the mounting bracket out of the packing and learn about its components. Align the mounting bracket’s screw holes with the electrical box by holding it up against the wall or ceiling. Mounting brackets come with screws inserted into the screw holes. With the help of a power drill or a screwdriver, tighten the screws. Make sure the mounting brackets are carefully attached to the electrical box. Once you are done with the installation process, it is time to connect the wiring for the new flush mount light. Note: Suppose the new flush mount lights have their built-in mounting bracket. Then, you have to follow the installation instructions given by the manufacturer. Step 5: Connect Wiring Now that the mounting bracket is installed, you must connect the wiring to the new flush mount light. But, before you start the process, ensure the circuit power is turned off and check the voltage tester twice. The steps you have to follow to connect
How To Install Flush Mount Light? Read More »

