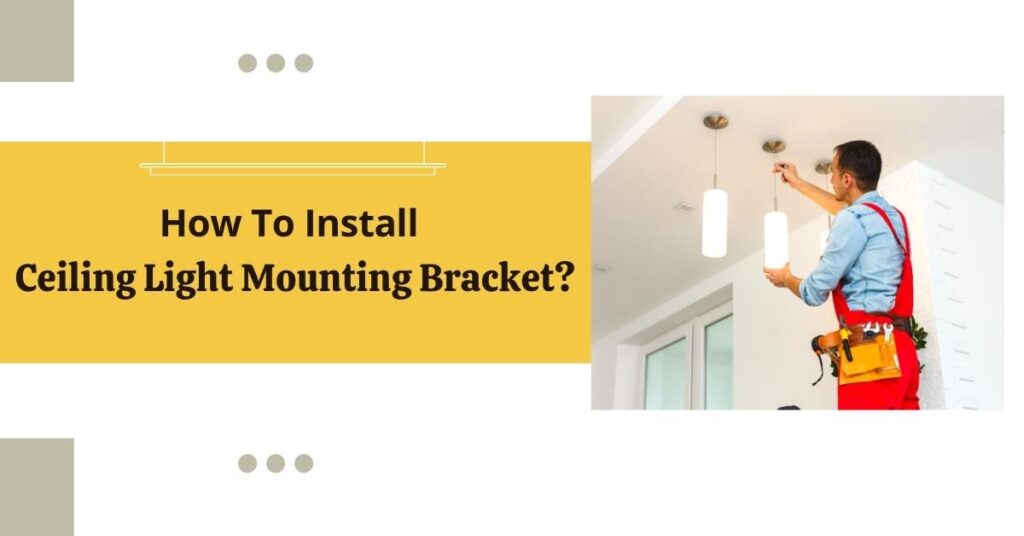
Whether you are installing light fixtures, Shade sails, fans, and a track system, the important thing is to make the base first to hang them. And what is this base called?- Mounting Bracket. The Mounting Bracket supports every piece of hardware, majorly metallic. These brackets come in different materials like Stainless steel, Aluminum, Galvanized steel, and many more. The brackets can be fixed on every room wall, including the ceiling.
Let’s learn about the use and benefit of installing mounting brackets at your place and how to install ceiling light mounting brackets.
Kinds Of Mounting Brackets
There are various mounting brackets in shapes, sizes, and uses. Each has some pros and cons. The basic types among all mounting brackets are
C-Bracket
The C-bracket is one of the most basic mounting brackets. It is C-in shape and can be connected to wooden or metal ceiling joists, according to your preference. It is very simple to use and can be used with light fixtures for up to 10 pounds only.
J-Hook Bracket
The J-hook mounting Bracket has the shape of the letter “J.” Its properties are the same as the C-Bracket as it can also be attached to both wooden or metal ceiling joints for lights weighing up to 10 pounds. It is also very easy to use, like C-Bracket. The only difference is of shape they both have.
Offset Brackets
The Offset Brackets help fix light fixtures at an appropriate angle. This Bracket is connected to the ceiling and the fixture’s joist. It can set the light at a right angle or the ceiling’s edge.
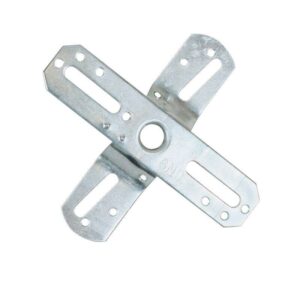
U Shaped Bracket
The U-shaped Bracket connects the light fixtures to the woody ceiling joist. It can hold lights weighing up to 50 pounds. Its models are available in both plastic and metal.
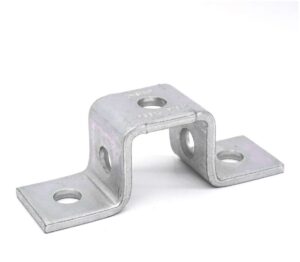
L-Shaped Bracket
The L-Shaped Bracket can also help to install a light fixture on the ceiling. While using this Bracket, you have to make two minor cuts in your ceiling tiles to support the brackets’ arms.
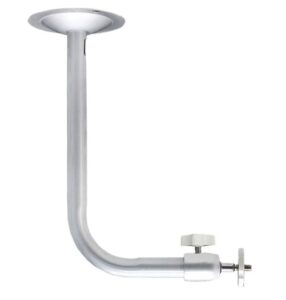
Pole Mounting Brackets
The Pole Mounting Bracket is a bit different from others as it attaches the lights to the post or a pole. It can hold up to the weight of 50 pounds of lighting fixtures. It is available in both plastic and metallic models.
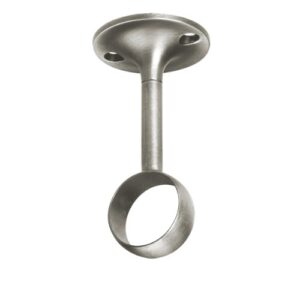
What To Look For Before Installation Of Ceiling Light Mounting Bracket?
Here are some important things to consider while installing a Ceiling Light Mounting Bracket:
Select the Right Locations
While selecting the location for installing the mounting Bracket, a few things must be considered. Firstly, ensure a sufficient gap between the mounting Bracket and any barrier above it, such as vents or piping. Secondly, you have to check if the mounting Bracket is in the right place where it can be fixed safely.
Check The Fixture’s Weight
Another thing to consider is the weight of the lighting fixture that a mounting bracket can hold. Ensure that the capacity of the Bracket matches the weight of the fixture for smooth installation. Otherwise, it will crash down and cost you more to install a new one.
Consider The Mounting Bracket’s Size
It is essential to check the size before purchasing the mounting Bracket. Ensure that the size of the lighting fixture goes with the size of the mounting Bracket. Otherwise, it will be a challenging task for you to install it.
Check The Space Between The Ceiling And The Floor
Checking the distance between the floor and the ceiling is also very important in mounting bracket installation. It will assist you in deciding the size of the Bracket you require.
Check The Mounting Bracket’s Security Rating
It is essential to check the safety rating of the mounting Bracket before its installation. For instance, several brackets support light fixtures with specific wattage, while some might not be appropriate for moist environments.
Check the Availability Of Any Power Source
Lastly, you should check the power source. And you can check it by placing the breaker box to see which buttons are on. The power is available if you find any switch near the light fixture. And if not, call an expert electrician to install that power switch.
Read More:- Types Of Chandeliers: Which One Will Suit Your Space?
How To Install Ceiling Light Mounting Bracket?
Here are the steps that one has to follow while installing a Mounting Bracket.
Check the Gap Between the Joists
Start by measuring the distance between the joists, which is crucial. Then place the mounting brackets evenly between the joist’s space. Also, go through the maker’s instructions to ensure the Bracket’s size matches the light fixture’s size.
Mark the Spot Of The Mounting Bracket
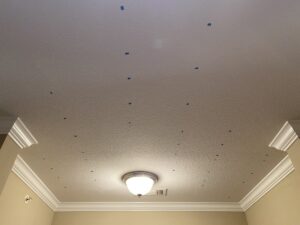
Use the Level to mark the ceiling’s spot where the mounting Bracket will be placed. Ensure the marks are drawn straight for easy understanding. Also, pick a pencil to outline around the outside of the Bracket.

Make Holes in the Ceiling
The next step is to drill or make an opening in the ceiling for the mounting bracket installation. Check if the drill is the same size as the screws while working with mounting brackets. Make an opening or a hole at all four corners of the Bracket.

Fix the Bracket to the Ceiling
Now you have to install the mounting Bracket to the marked ceiling. Place screws in the drilled holes and use a screwdriver to tighten them up. Before tightening them, make sure that the mounting Bracket is straight and leveled.
Install the Light Fixture
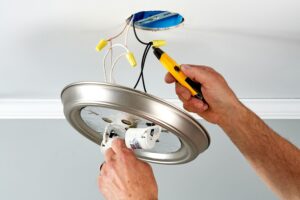
The last step is to follow the manufacturer’s instructions and install the light fixture accordingly. Also, ensure that the wiring has been done perfectly and the fixture is connected to the Bracket securely.
Tips To Install Ceiling Light Mounting Bracket
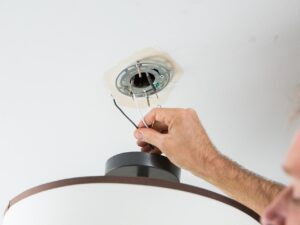
Below are given several tips that one should consider while installing a Ceiling Light Mounting Bracket:
- Use Level to mark the spot to fix the Ceiling Mounting bracket.
- Ensure the screws are so tight that they won’t allow the movement of the Bracket.
- If you are considering an offset bracket, ensure the fixture is fixed at a right angle to the ceiling.
- If you purchase a flush-mount bracket, ensure that the fixture is fixed at an appropriate distance from your ceiling.
- After installation of the mounting Bracket, check if the light fixture is entirely safe.
- If the fixture is not entirely safe, screw the brackets much tighter.
- If tightening the screws also won’t help, then there is a requirement for a toggle lock to connect the mounting Bracket to your ceiling.
Conclusion
Lighting installation is a complex process, and now that you know the steps involved in how to install a ceiling light Mounting bracket, you must agree with our statement. Well, if it’s your first time with lighting fixture installation and you are finding the process too much to follow, it’s always beneficial to turn to the experts. An expert can not only ensure that the job is done perfectly but can also save you time and money.
If you are looking for expert installation services to install a ceiling light Mounting bracket for you in New York City: Safety Lamps Repair is your best buy. We are a certified lamp repair and installation company that happily provides you with tailored lighting solutions. Contact us today to avail affordable and quality lighting installation services.
Contact Info
Call- 212-348-Lamp
Mail- info@lampsrepair.com
Store Address- 1713 2nd Ave, New York, NY 10128
Frequently Asked Questions
The mounting Bracket is the apparatus that fix lighting fixtures to walls or ceilings. They are available in various models and shapes and are designed from various materials.
The weight a mounting bracket can hold depends on the kind of Bracket used. Several brackets are made to carry a little weight, while others tend to have more weight than the standard one. Hence, it is vital to check the weight-holding capacity of the mounting Bracket before its purchase.
The steps that one has to follow to replace a light fixture bracket are as follows:
- Switch off the power button. Switch on the fixture you want to replace
- Detach the light fixture. Two to three knobs use for its removal.
- Check again if the power button is off.
- Remove the wiring
- Detach the mounting Bracket
- Install the new Mounting Bracket
- Fix the wiring
- Installing the new light fixture
The installation of the lighting mounting fixture is a necessary procedure that must not overlook. It is essential to know the benefits of mounting brackets before their purchase.
- Provide a solid base for the ceiling light.
- Support to balance the light’s weight evenly.
- It prevents the swinging or wobbling of the ceiling light.
- Easy installation process and reduces the damage to the ceiling.
- Enhance the overall stability and security of the light fixtures.
People often wonder if they need a professional electrician to install lighting Mounting Brackets. Honestly, you don’t require any professional help if you do have some DIY experience. You should know the kind of fixture you are planning to fix. Ensure that the Bracket goes perfectly with your light fixture and that its weight capacity matches the lighting you bought. And if you have even a little doubt about DIY, hire a professional electrician. He will help you better and give you signs of satisfaction with his work.

