Planning to remodel your kitchen space to make it look better and make your work easier? Then it’s time to install under-cabinet lighting as an additional for the accent illumination in your kitchen. It lets you light up the room without turning on the entire lights.
If this lighting installation seems like you want to have in your space, but you haven’t planned any extensive renovations, don’t worry. Because installing under-cabinet lighting doesn’t require significant renovation work, it can be done by following a few general steps. Let’s have a look!
How To Install Under-Cabinet Lighting?
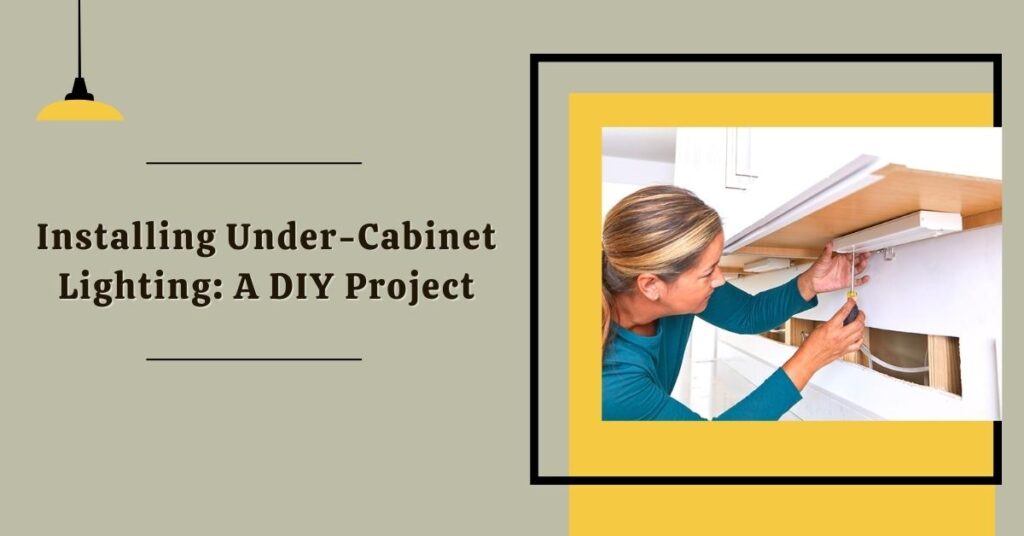
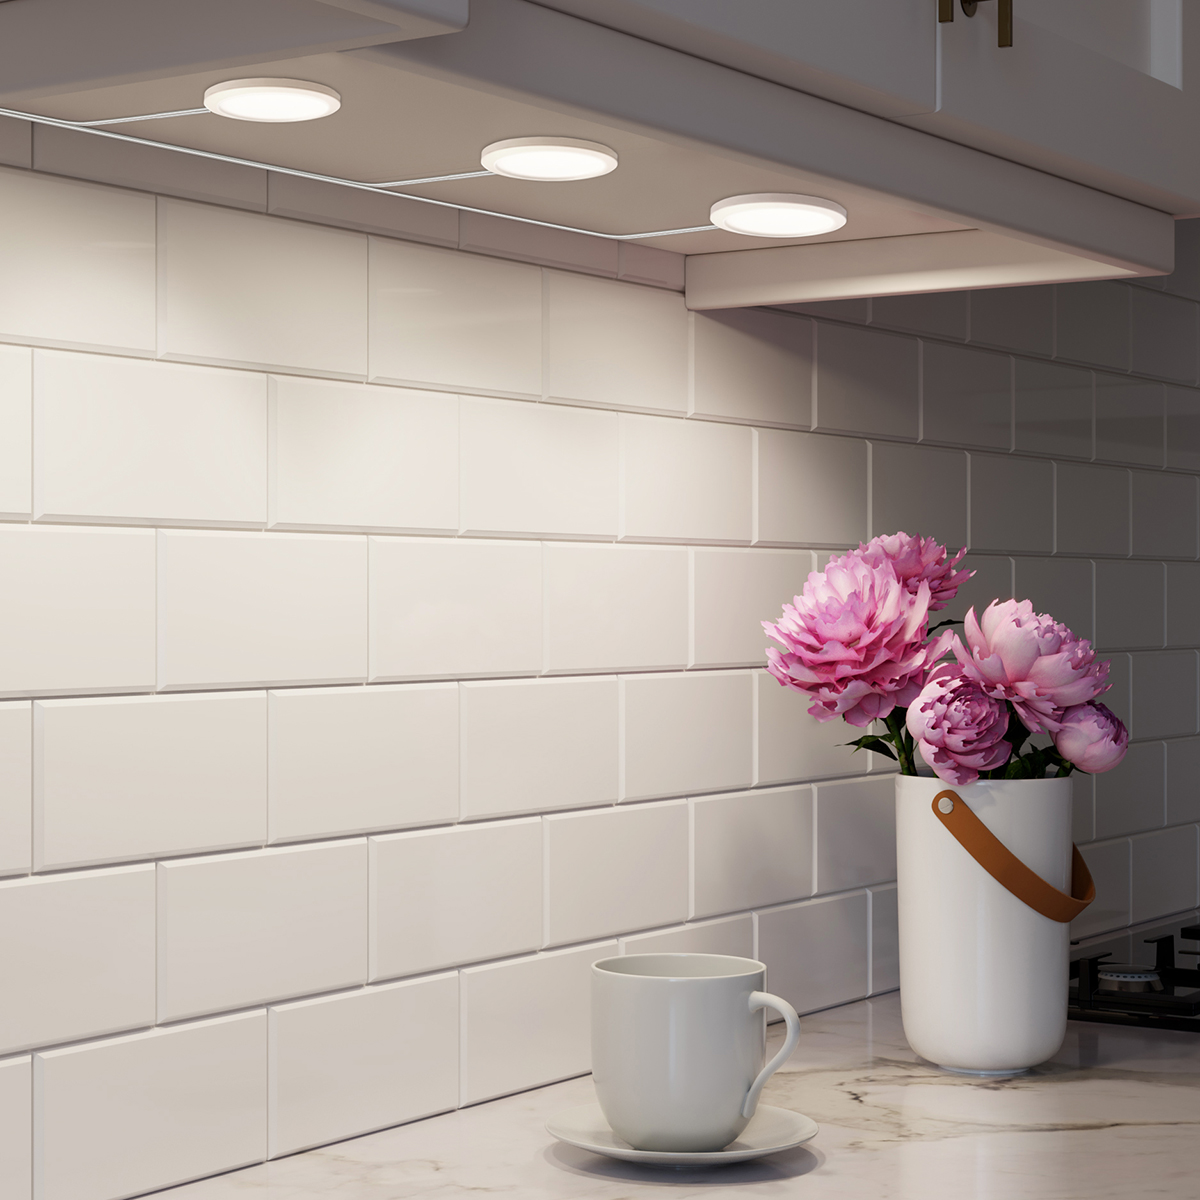
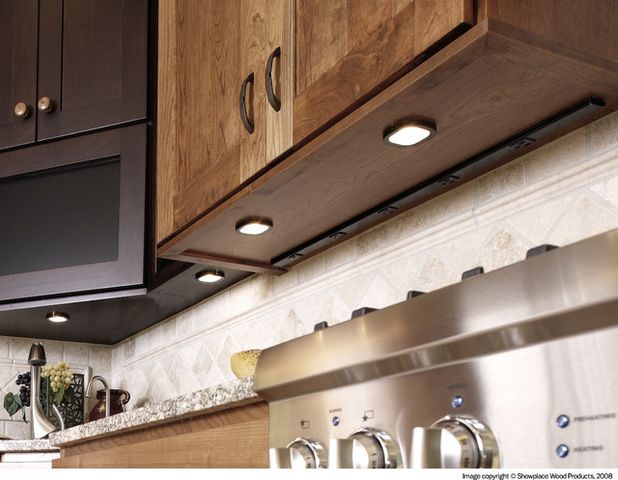
Under-cabinet lighting below upper cabinets offers additional lighting on the below counter’s surfaces. It is crucial while you are working with knives or other edged kitchen utensils. Here is the guide that walks you through the DIY levels on installing under-cabinet lighting quickly.
Also Read:- The Best Home Lighting Repair Service In NY
Pick The Right Fixture
Firstly, pick the appropriate fixture according to your space. The selection procedure of fixtures should be done considering several factors such as Dimension of space, Dampness of place, colour or type of fixtures, and adaptability.
Gather The Essential Tools And Materials
Firstly, you must gather all the essential tools and materials required for under-cabinet lighting installations. Tools needed while installing under cabinet lighting are – Voltage tester, Cordless drill, Jigsaw, Hacksaw, Wire stripper/cutter, and Non-contact voltage tester.
And materials that are required for under-cabinet installation are – a junction box, undercabinet lights, Wire nuts, remodeling switch box, 1/2” metal flex cable, 14/2 plastic-sheathed cable, Cable clamps, 1-1/8” spade bit, flex connectors, 1-1/8” spade bit, Fish tape and flex connectors.
Switch Off Power And Follow Safety Measures
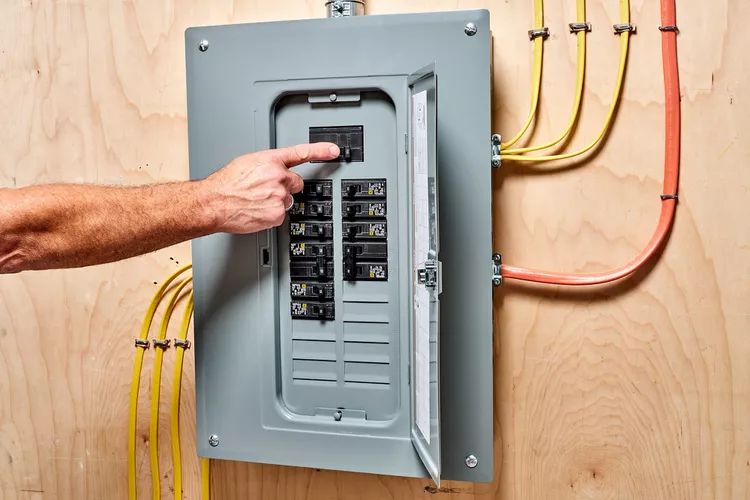
Before starting the procedure, looking after the power board and turning off all the power switches is vital. You can use a voltage tester to ensure that power is off to all cables. Also, wear safety goggles while working with power tools to secure your eyes.
Ready The Wall And Cabinet
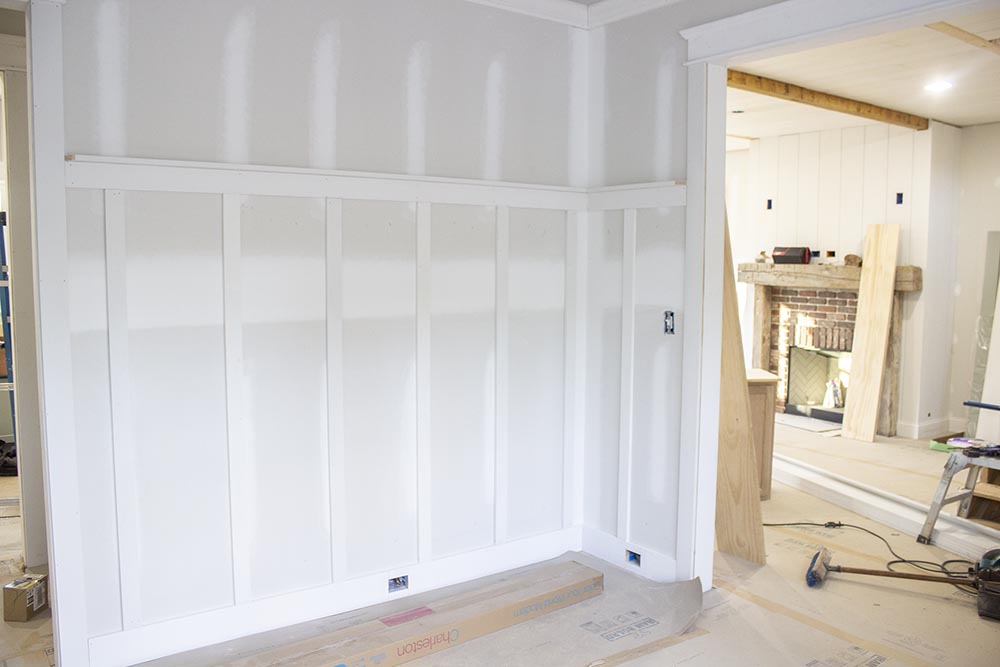
Pick a wall or cabinet and plan the procedure of wiring where multiple holes can be covered at the end of the procedure. If the surface backsplash can be removed, remove it and make a passage in the plaster or drywall that the backsplash can cover. You can implement power drills to make holes in the studs to hold wires or mount tile between the wall cabinets and countertop to shield cuts and holes. Evaluate every light to decide where the wires will enter and make an exit. Make small holes or openings in the wall where the wires will enter the lights. Ensure that the gap will get covered when the light installation is done. Also, if you cannot detach a backsplash, give some time for wall painting and patching after the installation.
Insert A Hole To Place The Switch Box
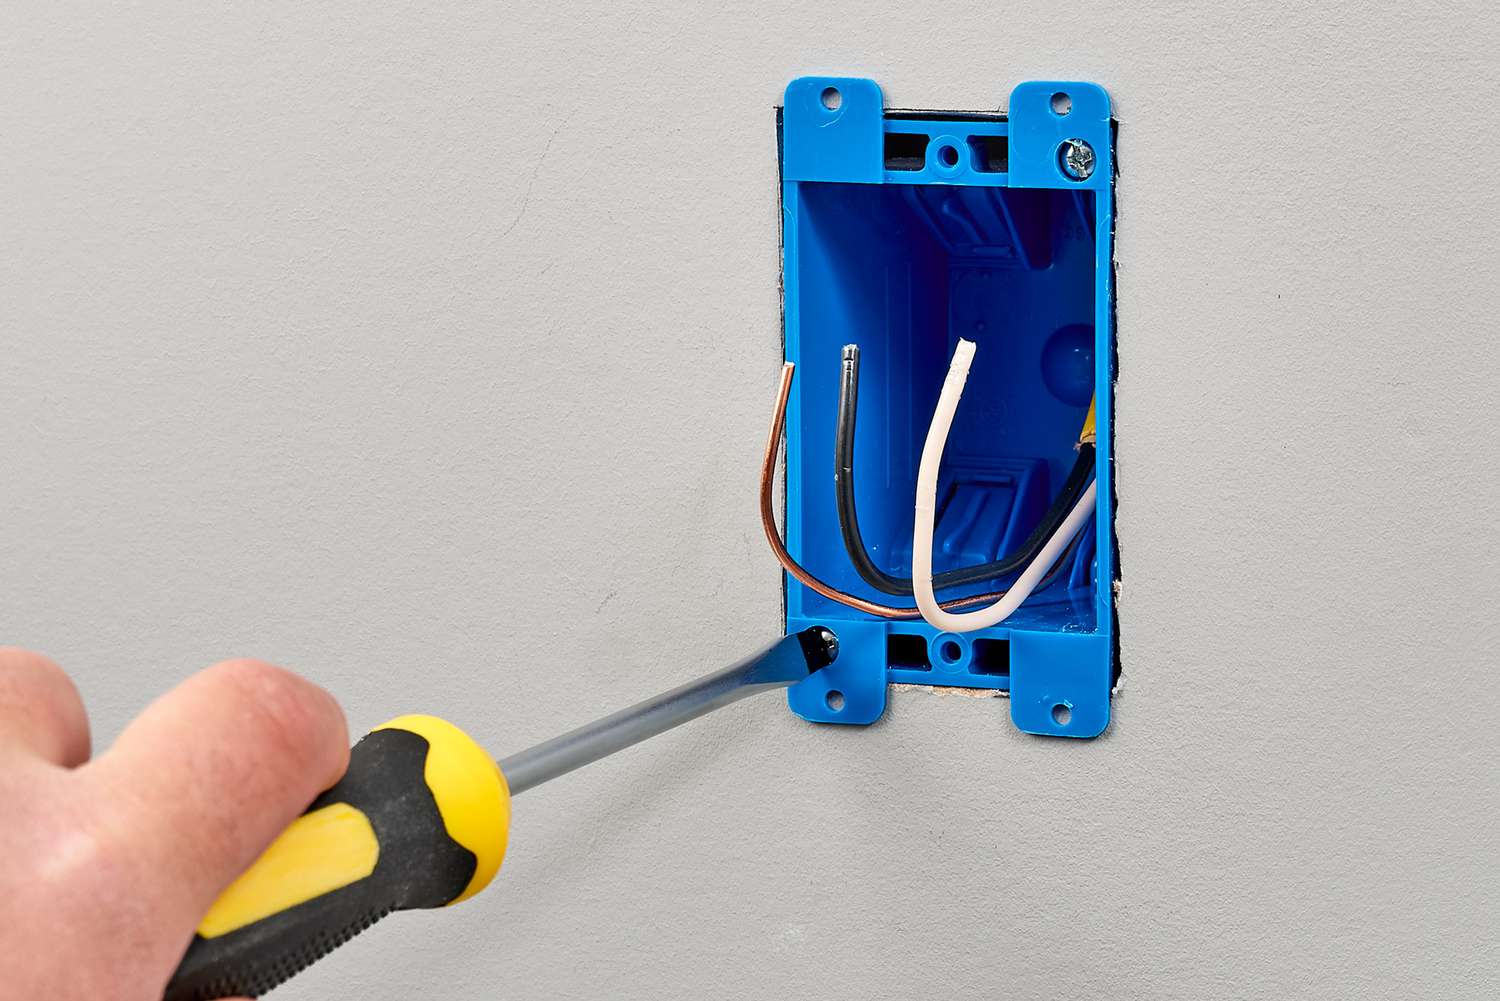
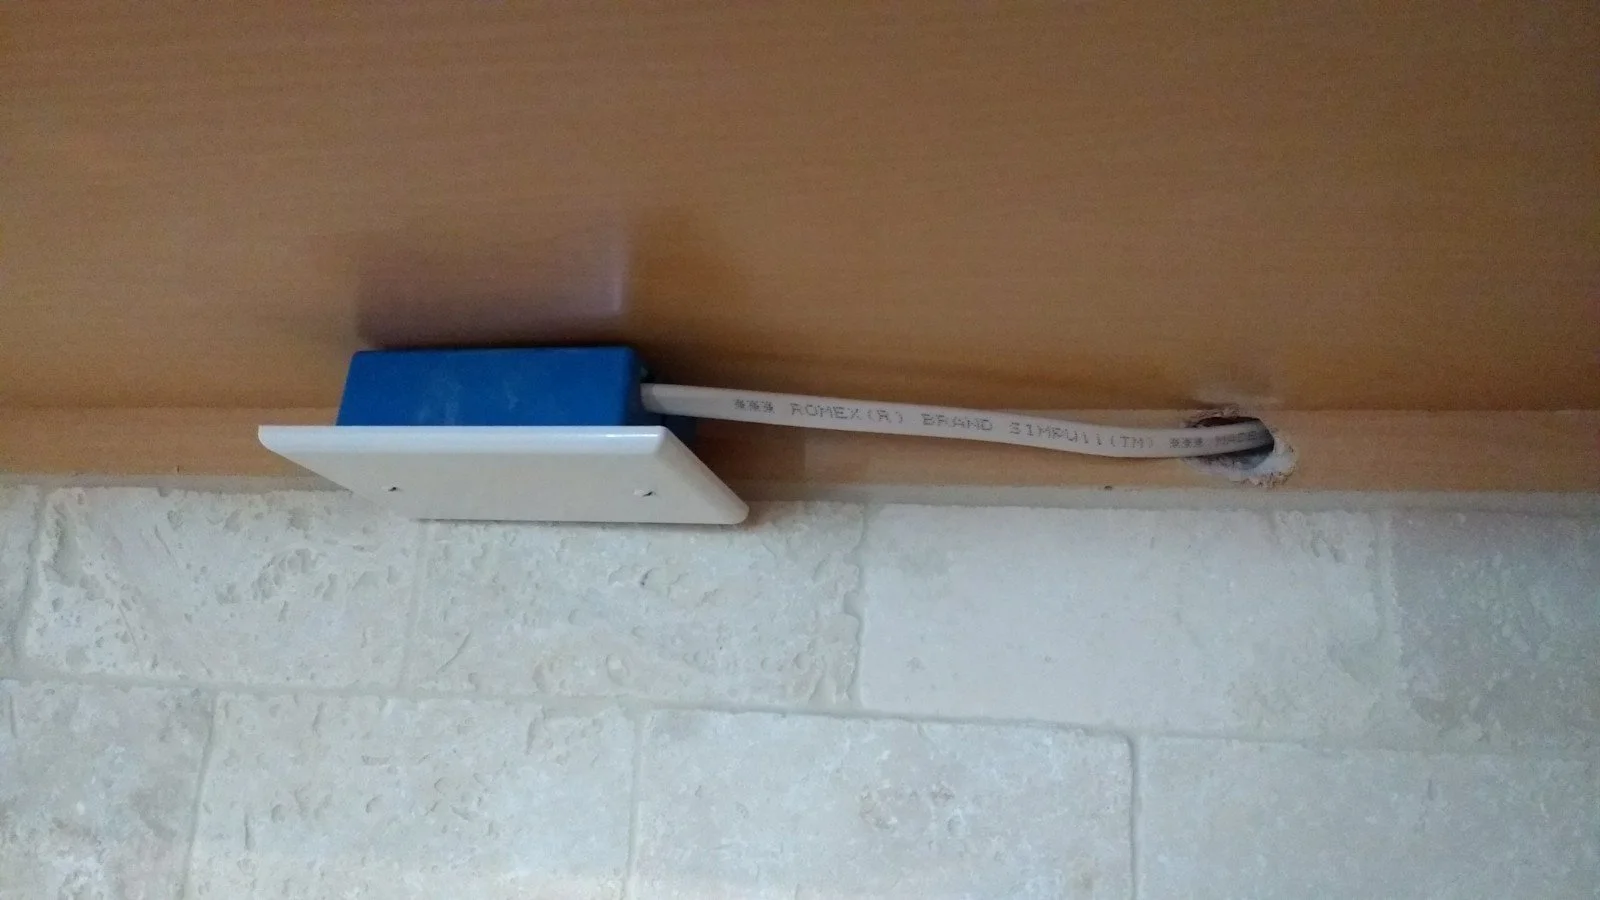
Now it’s time to make an opening or a hole for the switch box and move wires through it from a power board. Do not attach the wires to the power yet. Run these cables from the switch box to the opening for the first light, first to second, and so on. Let’s take 16 inches of wires swinging from spaces, so you have multiple slacks to form connections.
Install The Lights
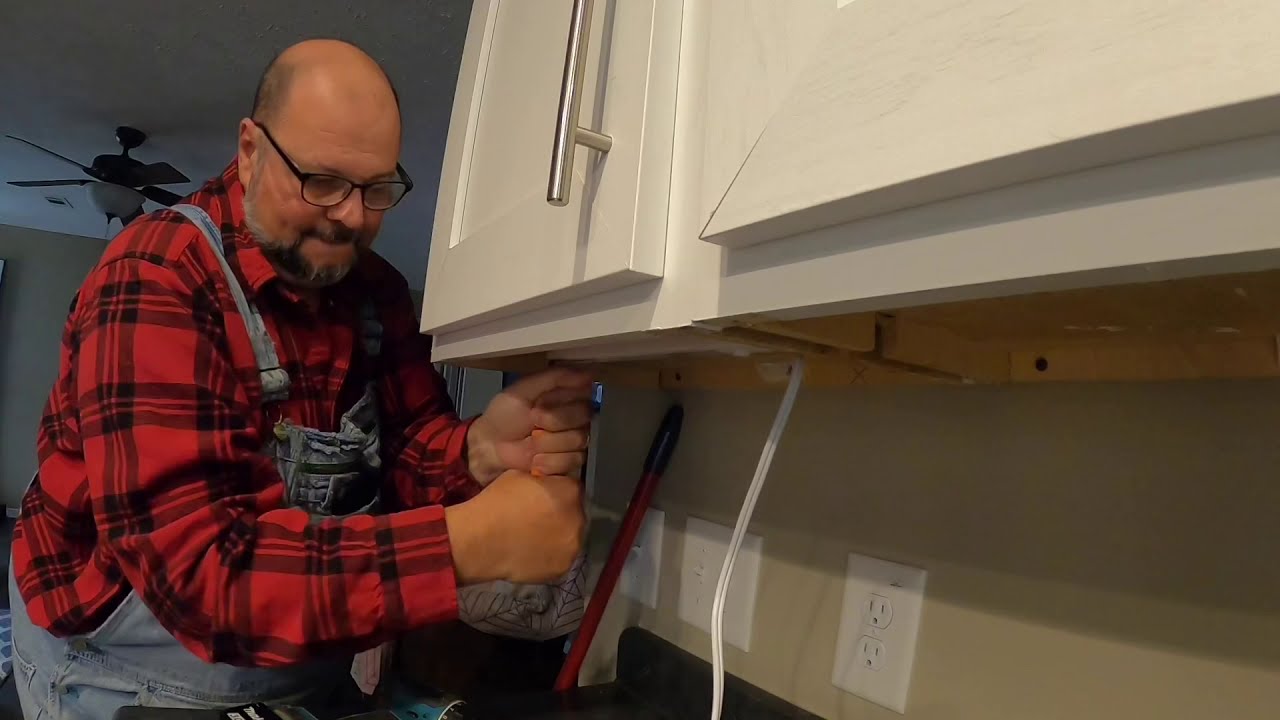
Pick the lights and remove their lens and fluorescent pipe. Protect each wire from the light while attaching the cable to a box. You will need the help of a third person to hold the light while you are working with the screws through the light or the cabinet. Also, ensure that the screws would not tap through the cabinet’s interior.
Light Wiring
Then wire the lights so that they won’t pop within the ballast. Join cables with the light’s leads inside, white to white and black to black. Place the cables on the foot so they won’t get in between while installing the fixture’s body. Slightly push the base of the light into its place. If it is difficult to push it, place it down and reorganize the cables for simple fitting. Fix the fixture base.
Wiring Of Switch
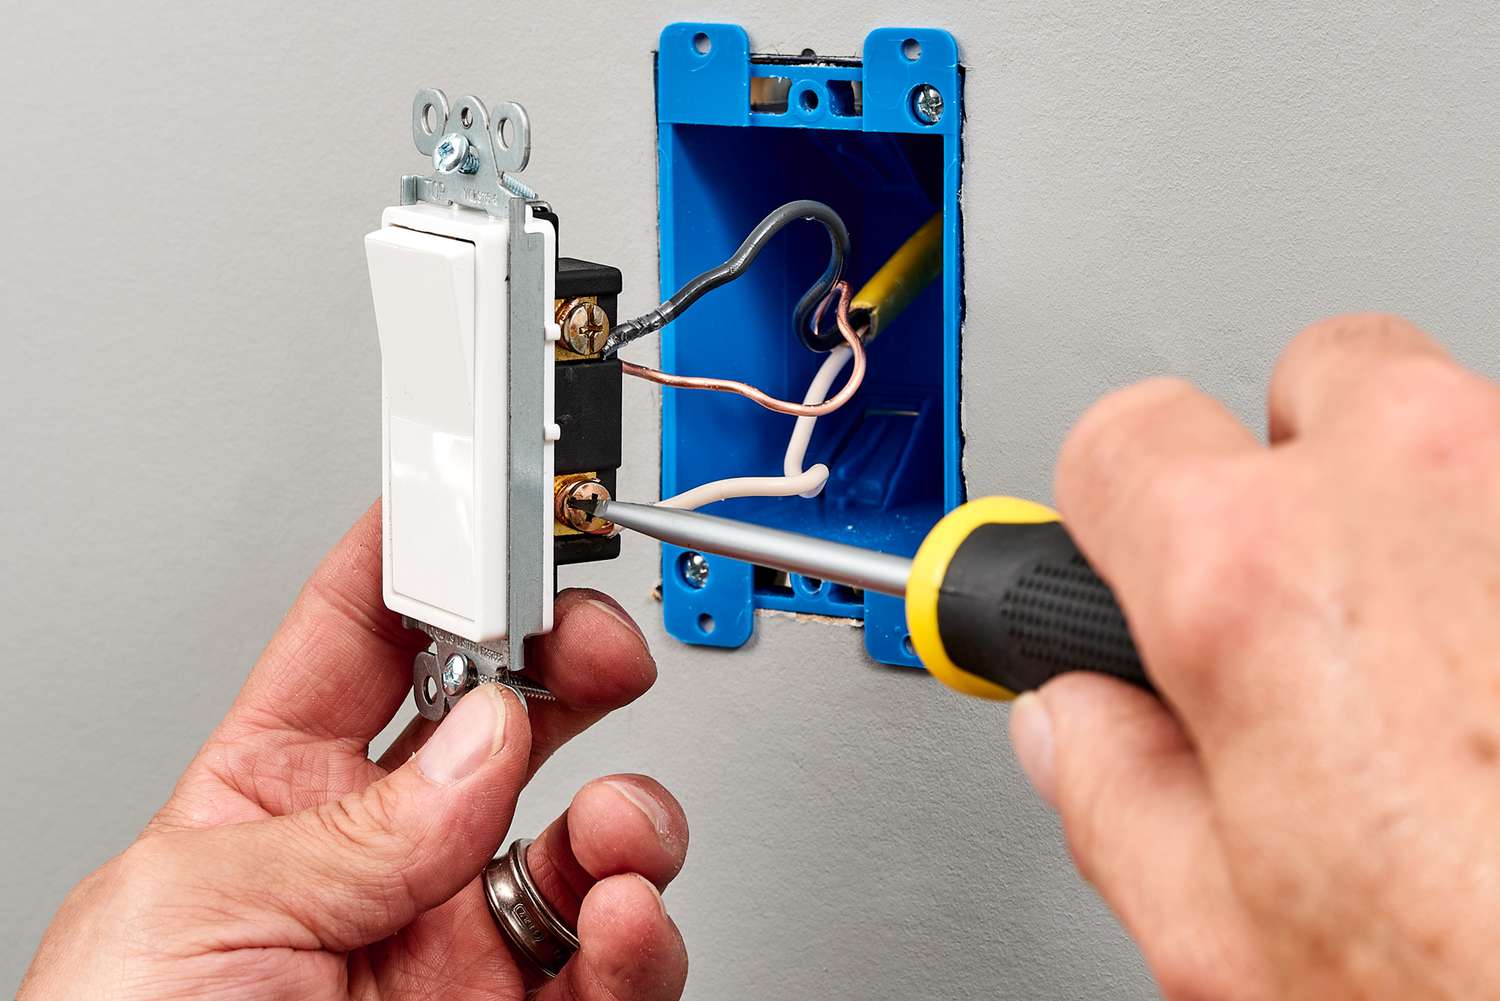
Now mount the switch box with the wires joined on it. Join the white cables with each other and connect each black cable with a single-post switch. And attach the ground wires to the box and switch if metallic. Cover the switch’s terminal with electrical tape. Power off the junction box or holder that will transmit the power. Join black-to-black or color cable and white with only white cables and restore power.
Move Cables Inside The Cabinet
Make holes or openings in the cabinets to quickly complete the installation procedure.
Set MC or BX wires on the inside. Take a tape measure to decide where the wires will enter each light at the cabinet’s base. You have to cut the wires correctly because you can’t slide the spare wire into the wall case.
Run Wires Under The Cabinet
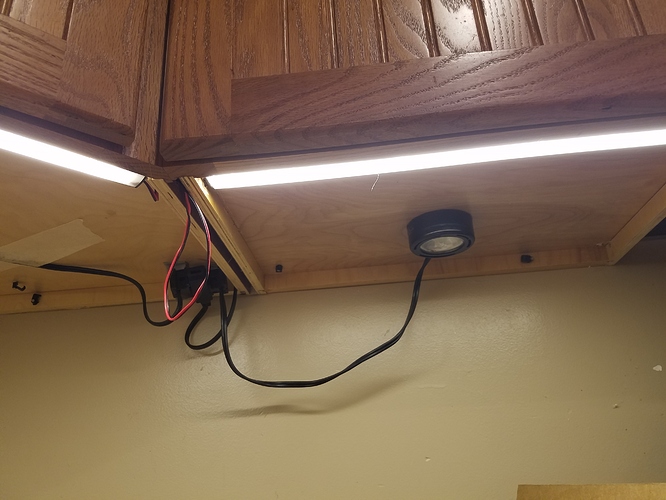
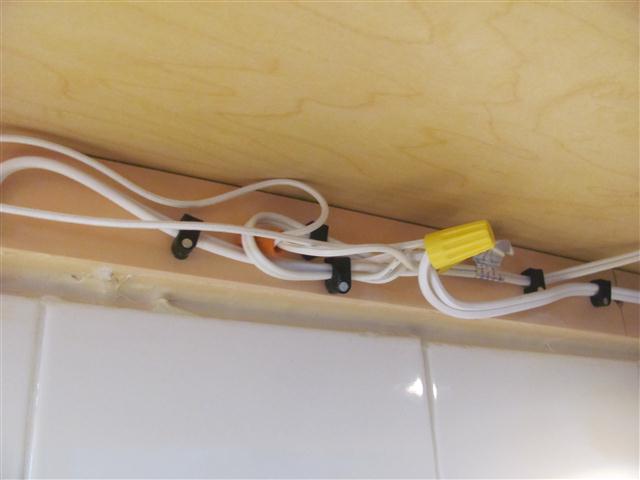
Another easy installation method is to fix or run the wires below the cabinet if allowed in your area. Connect the lights with string wires below the cabinet to install the wires. Staple the wires using cable staples. Carefully measure and cut wires so they get flat across the length. Examine your local rules before continuing the procedure.
Self-Fixative Lighting
Not every under-cabinet lighting needs tough -wiring. Several fixtures insert into the cabinet’s underside through the strong cohesive. Usually, these fixtures need LED lighting and batteries. To mount one of these lighting fixtures:
- Mark the center of the cabinet.
- Decide the light’s center point, and strip off the backing.
- Place the light to align the center points, then push it into place. The makers might offer to install screws for additional security.
What To Look For While Hiring An Electrical Company?
While looking for an electrical company or an electrician, there are some factors that one needs to consider before hiring; let’s know about them.
Licensing
It is vital to hire an electrician from a reputed and licensed company. Hiring a licensed electrician will give you early assurity of the work they had undertaken on your property. Also, they have insurance policies that protect them when something wrong happens with their job or some mishap occurs while performing.
Good Reputation
Always go for an electrical company with some market reputation. Therefore it is vital to compare different companies and conclude them based on their reputation. Also, the reputed electrical companies always come with several references you can consider.
Ensure The Client’s Safety
Client Safety is always the priority of a professional electrician. They make sure to follow safety measures while working with wires. Also, they are trained to manage risky situations if anything happens while securing the client’s property.
Equipped With Vital Tools
It is very necessary to hire an electrician with all the essential equipment and with the knowledge of same. They should be upgraded with advanced machinery and know the significance of implementing the right equipment.
Focus To Detail
The electrical system is now quite complex in residential and commercial areas. Therefore, always hire an electrician that pays attention to even a small detail of the work.
Conclusion
Installing Under-Cabinet lighting is brilliant, as it saves you a lot of money and energy. Above is the step-by-step guide to getting the best under-cabinet lighting for various tasks. Follow them to get the best-illuminated space.
So if you are considering installing under-cabinet lighting in your space as an added light source, consider Safety Lamps Repair. We are here to provide you with all kinds of installation services in your home, including under-cabinet lighting to give your space an accent illumination. We have a full-fledged team of experts and experienced electricians who made all the installation work possible through teamwork. For any installation requirement in your place, book us by dialing 212-348-5267, or you can mail us at info@lampsrepair.com.
Frequently Asked Questions
If you have full knowledge of under-cabinet lighting installation or have prior experience with the same, you can try installing it yourself. It is the installation procedure that takes about half an hour to complete. But if you are slightly confused about the whole installation procedure, it is essential to call an expert installer.
Among all the light fixtures, LED lights are ideal for under-cabinet lighting installations. They are durable and fuel-saver and release minimum heat, making them perfect for kitchen closets and cabinets.
You can hide cables for the under cabinet lights using a wire protector. Fix the wiring in a single bundle with the help of tie wraps and attach it to the underside of the cabinet using staples. The wiring length should straightly extend from the light to the room’s wall.
The average installation cost of Under-cabinet lighting is around $265 per light. This electrical project includes the overall cost of the light and installation equipment as well as mounting costs by an expert electrician.

